blog hello artwork press

July 23, 2011

Onesie Name Banner

Ruffle Bum Onesie Tutorial

my husband's mother has three sisters and between the four of them they've had a total of 17 boys!! this tradition continued on into the next generation with the birth of my son. 

but at last {!sound the trumpets!}, a baby girl!


this is the beautiful misty and her mama...she's my sister-in-law...and always wins at anything she's challenged to...it really peeves the boys ;) it's only appropriate that she has the FIRST girl! so for her baby shower i made a onesie banner...with RUFFLES!
   
supplies: iron on fabric adhesive, various fabric, 2 pack of plain onesies, x-acto knife, scissors, disappearing ink pen, iron


first, peel off appropriate side of adhesive and iron on to fabric

lay out onesies and mix and match fabric until you see an arrangement that you like.

cut out letters...peel off paper behind ironed on adhesive...then align letter and iron on to onesie. 

M a D e i n E

i made acronyms for her name... you don't have to do this as it will take much longer. but they're fun so why not! use disappearing ink fabric pen to write onto left over fabric with adhesive ironed on to it. do the same as you would with the larger letters. use an x-acto and scissors to cut around word...i used mostly scissors for the curvy areas and an x-acto for the letters with holes in the middle (a, e, b, d, o) remove backing, iron onto onesie.

cut 3 inch strips of fabric for ruffles

fold in half, press.

sew ruffles..the highest tension didn't ruffle these (does anyone know why?? still have so much to learn!) so i just did long stitches with the machine then pulled on one thread to gather the ruffles

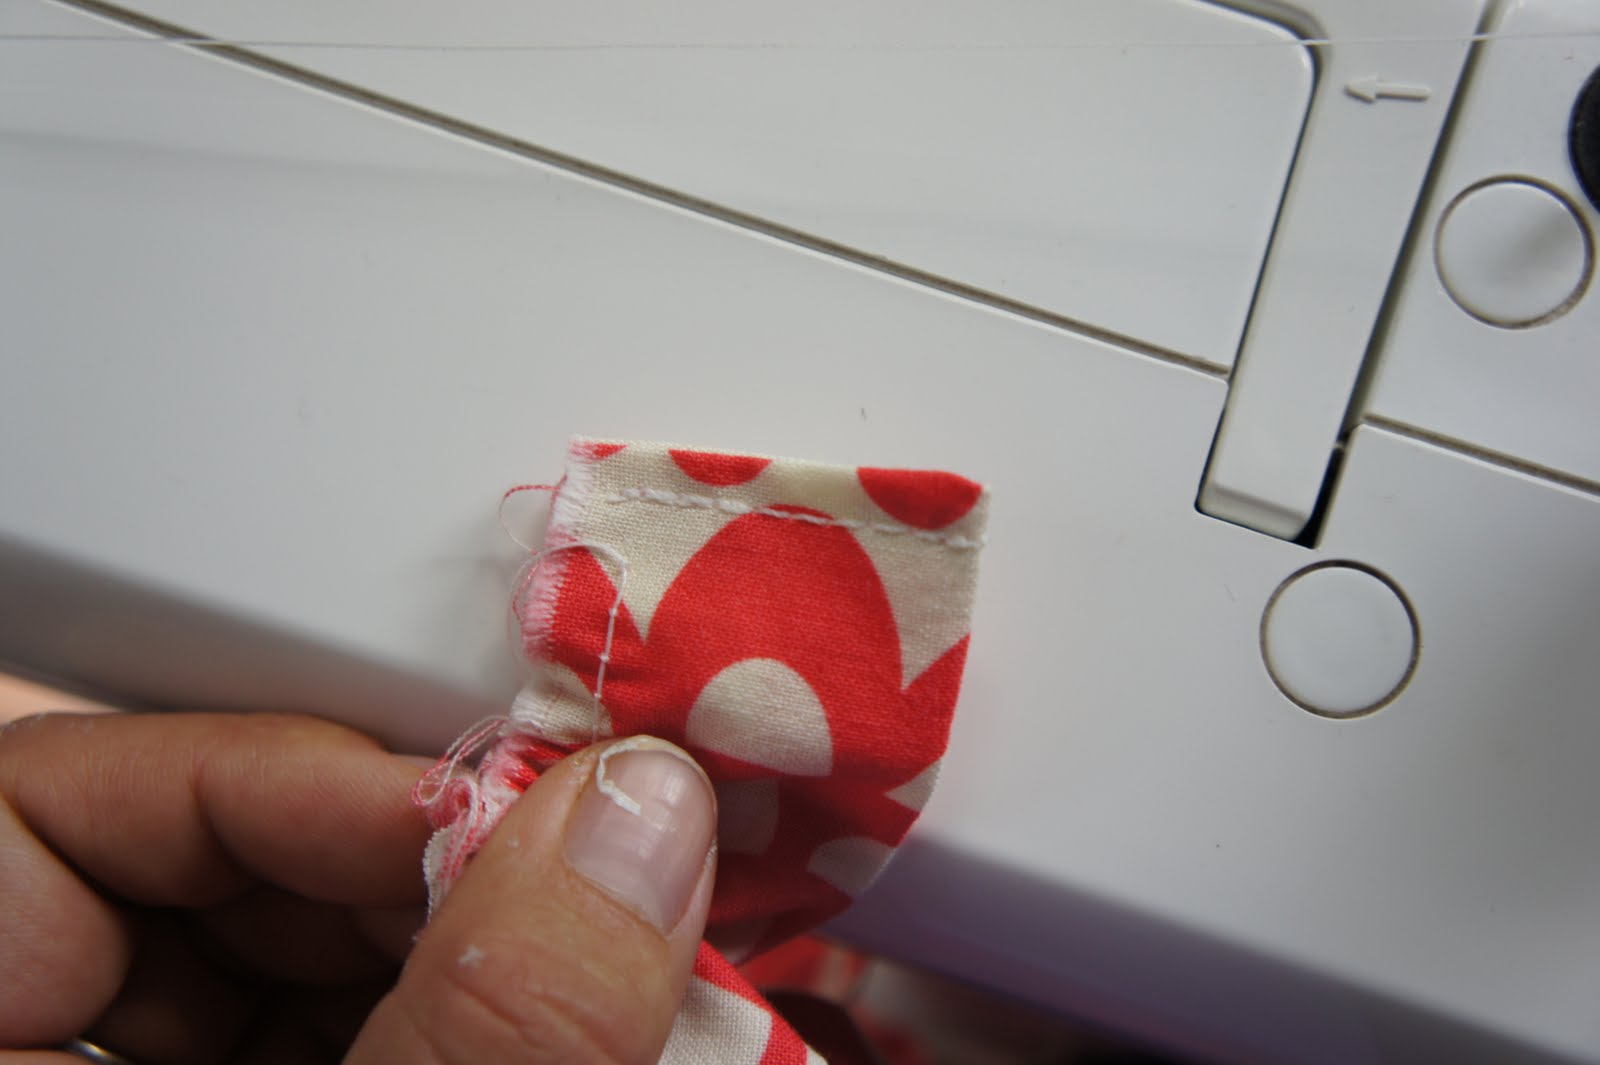
fold raw edge of corner inwards and sew.

use disappearing ink to mark where ruffles are to be sewn. 

see the scraggly fabric threads....pull on them and take them off. keep doing that until the edge is evenly fuzzy. 

then POW! they're ready to be hung!


miracle
awesome
dynamite
exuberant
loved
itsy bitsy
nifty
enchanting


July 22, 2011

DIY Oatmeal Linen Slipcover

my first post...and first slipcover!

before

after

when we bought our house, the previous owners left us a couch that was in great condition...however, not very attractive. slipcovers can get pricey (though not as much as a brand spankin' new couch) and they never seem to fit right! i opted to make one and started planning when my son was still a newborn so it was quite a long process. on top of that we just moved to NY from Hawaii and were living at my husband's parents until we found a place so i didn't have any equipment set up. just a good ol' measuring tape, a sketch book and pen. :) i started with measuring the couch while baby napped. then doodled, erased, doodled, erased, crumpled up paper, tossed it, re-doodled.....you get the picture.. until i finally mapped out the final measurement, pattern and plans (fabric yardage and in what order to cut). the planning took the longest; however, if you have time you could knock this out in a few weeks. when we finally got in the house and my studio set up i finally got to sew this bad boy! didn't take any pictures during the making so i can't provide an adequate tutorial...but here are the drafts and final pics. if you're looking to make one i hope this helps some.

the measurements
fabric yardage and where to cut

the only drawn out pattern needed (fore facing part of arm)

used the original zipper from couch..and followed the original pattern for cushions.

the top front-where your back leans against-can be made with one piece of fabric but i used three to mimic the three arches
pleated back, makes putting the slipcover on more easy..you don't have to tug or pull and have all your hard work tear!! also, wanted to put a tie or some buttons to tighten the back up a bit...but i liked the casual looseness of it. 
four pleats visible on front of skirt...makes it appear a little more structured..long length of skirt makes it a little more casual and flowy